Home - This Old Workshop
Turning a Carbon Fiber Jr. Gentleman's Pen
Let's get into today's project! I'll walk you through the process of turning a carbon fiber Jr. Gentleman's rollerball pen.
First, you'll need:
Lathe
Bandsaw or other saw
Belt/disk sander or barrel trimmer
Pen Mandrel
Scraper or Carbide Tool
Jr. Gentlemen's Pen Kit (I used the black titanium kit)
Jr. Gentlemen's Bushings
Carbon Fiber Blanks (or other material for body of pen)
Sand Paper 120-400
Micro Mesh 1500-12000 grit or Wet/Dry Paper up to 10000 grit
Vise or Pen Press
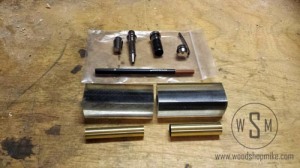
Get together your pen kit and carbon fiber blanks.
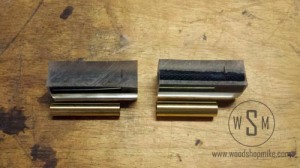
Use the brass barrels from your pen kit and transfer their lengths plus 1/8" onto the corresponding carbon fiber blank. Be sure to note that the brass tubes are different diameters, so mark the blanks accordingly.
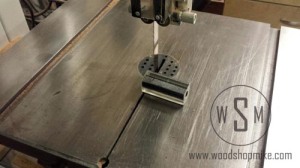
Head over to the bandsaw and cut the blanks.
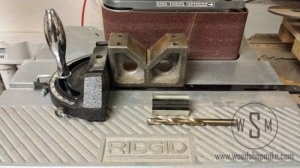
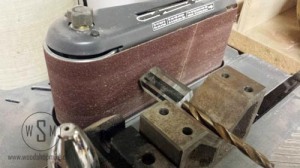
At this point you're ready to square up the end of each blank. This is an important step. It will determine if there are gaps between the body of the pen and the hardware once everything is assembled. I use a sander for this step, especially when working with acrylics as the barrel trimmer can chip out the material.
As you can see, I use a miter gauge to register the V-block against. I then suspend the pen blank on an appropriately sized drill bit. A set of transfer punches would be better, but this method works just fine.
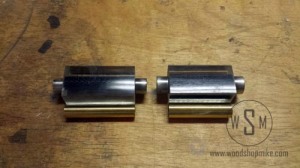
Sand the blanks until they're the same length as the brass tubes from the pen kit. There may be a burr on the inside blanks. If so it can be cleaned up either with a razor blade or some 120 sand paper. Now you're ready to get to turning! Fit the bushings into the end of their respective blanks.
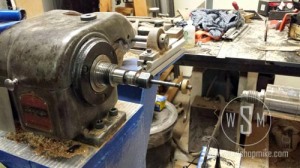
Before installing the pen mandrel in the headstock, wipe down and blow off the taper in the spindle and the taper on your mandrel. Install the mandrel with a little authority.
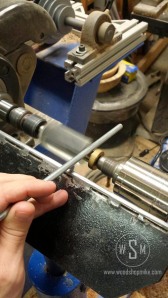
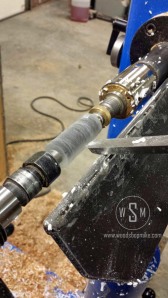
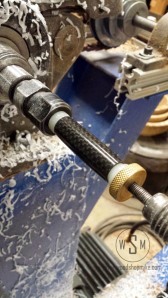
Now slide one or both of the blanks with bushings over the mandrel. Bring up the tailstock and apply minimal pressure to the end of the mandrel. Tighten down the brass thumbscrew to pinch the blank into place. You'll want to check for concentricity. If the blank is not running true, it will show up where the hardware and pen body meet. I use a 1/4" aluminum rod that rests against one of the bushings. If everything feels smooth, then you're good to go. If it's a little bumpy, then you need to make an adjustment. Either reduce the pressure of the tailstock or brass thumb screw first. It things still aren't smooth you'll need to loosen, adjust, and retighten the mandrel.
That last step sounds a bit involved, but I promise, it took much longer to read than for you to actually make the adjustments.
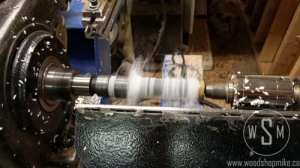
To turn acrylic there are two main things to keep in mind. First, you want the lathe to be running between 1,500 and 3,000 rpm. Second, only use a scraper presented at a negative angle. This means the tool rest needs to be above the center line of the spindle. This tool presentation reduces dig in which minimizes chipping of the acrylic.
Be sure to have a fresh burr on your scraper and use light consistent pressure while roughing in the shape. You can get a touch more aggressive once the blank is roughed in, but I like to take my time with acrylics. Some of the joys that accompany turning these materials are the lovely smell (sarcasm) and the need for regular breaks to clean the rats nest of shavings that gets caught around the work.
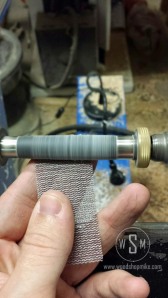
Once you attain your desired profile that's just shy of the bushings on either end, you're ready to sand. I highly recommend using abranet abrasive for sanding acrylic. It does not clog like traditional sandpaper and as a result lasts longer while also cutting faster. Slow the lathe down to about 500 rpm for sanding.
Once I've sanded up to 400 grit I switch to micro mesh and use water to lubricate the sanding process. If you do not have micro mesh, then wet/dry paper will suffice. The nice thing about acrylics is that you don't have to apply finish! I work through the grits, 1,500 - 12,000 and then set it aside until assembly.
Once the other piece is turned, you're ready to assemble the pen.
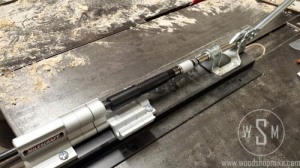
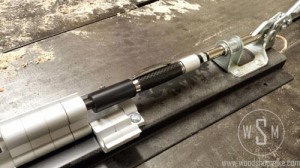
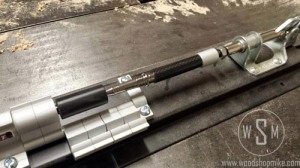
After about 20 pens, I coughed up the coin to buy a pen press. It greatly expedites the assembly process and makes it much less likely that you'll crack the body of the pen during assembly. The process is pretty straight forward, just follow the diagram that came with your pen kit to know which piece of hardware goes on which end and press it together. The only other thing to pay attention too is evenly applying pressure to the hardware and prevent the components from going in at an angle.
Here I'm assembling the cap of the pen.
Now I'm pressing the writing tip into the body of the pen.
Sorry y'all, no photo of the last piece being pressed into the body of the pen, but I'm sure you can handle it!
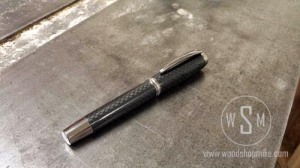
Here's the pen all finished up!
I hope you enjoyed the project and try one soon! Please feel free to leave your questions or comments below. Also, if you turn one of these or your first pen, you're kindly obligated to share!
I do sell these pens along with many other styles through a few different avenues. If you're interested in one, but don't want to get into turning, feel free to contact me by any of the following methods.
Email: This email address is being protected from spambots. You need JavaScript enabled to view it.This email address is being protected from spambots. You need JavaScript enabled to view it.
Facebook: Wood Shop Mike
Twitter: @WoodShopMike
Instagram: @woodshopmike
YouTube: Wood Shop Mike
Etsy: woodshopmikestudio
Thanks for reading y'all! Take care!


